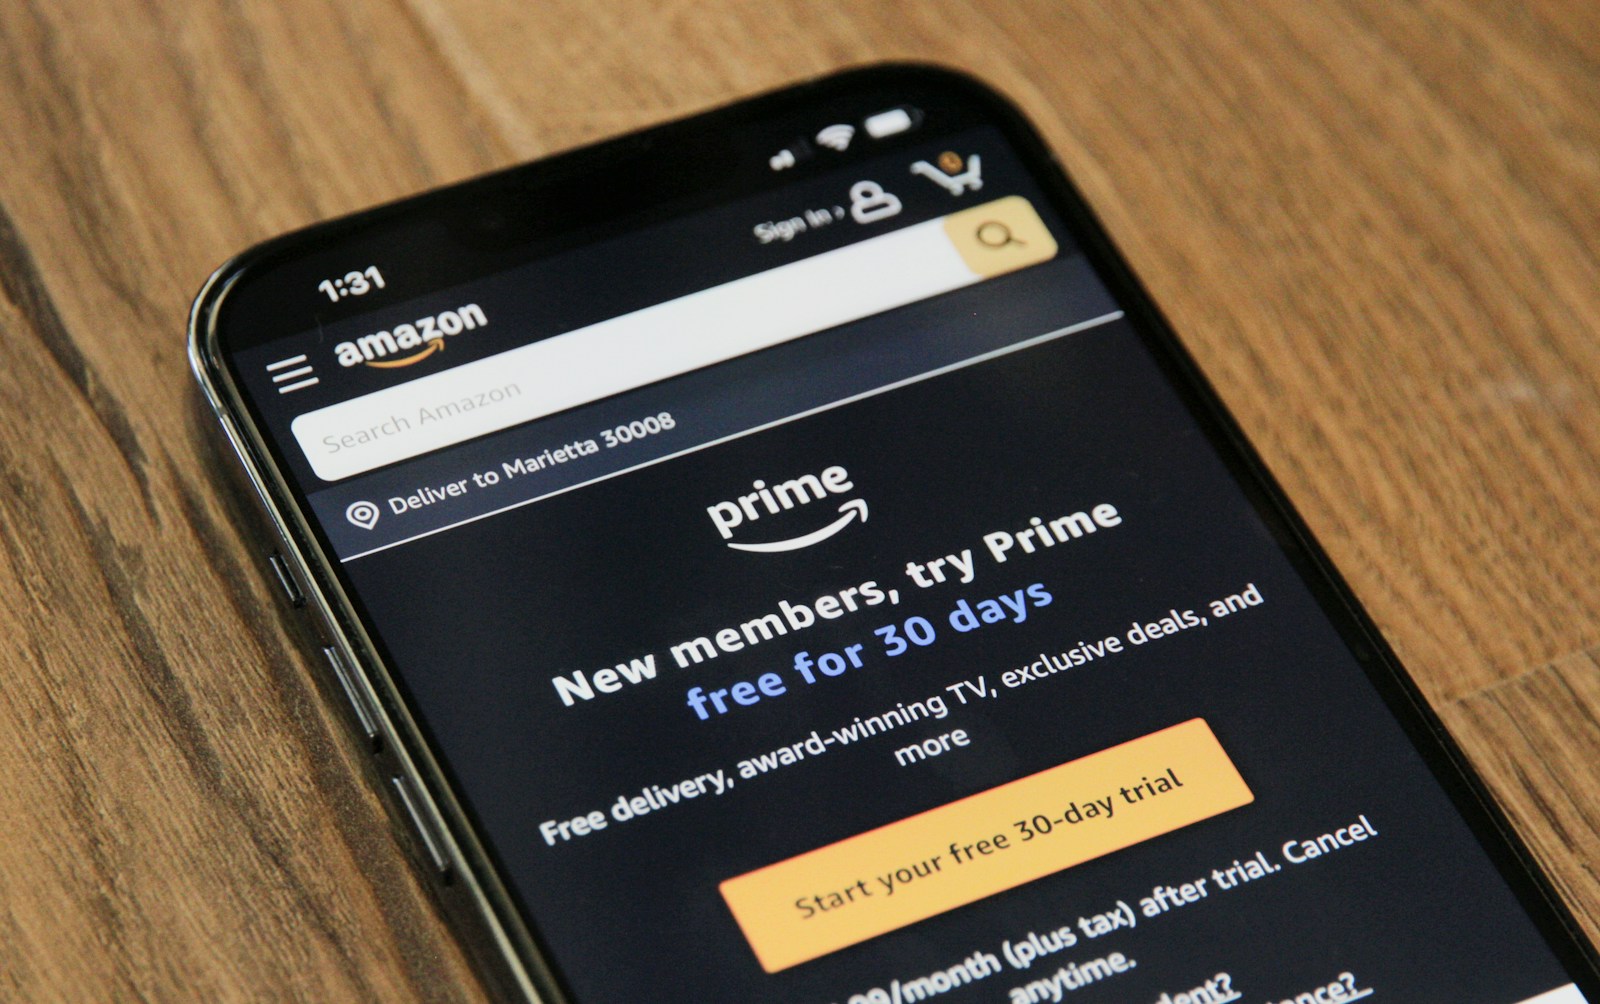
You sign up for a free trial. You download an app. You agree to a small monthly charge. Then you forget.
That’s how hidden subscriptions pile up. One by one, they chip away at your bank account. Over time, those tiny charges add up to real money. The good news? You can find them, cancel them, and take back control. Here’s how.
Why Subscriptions Get Missed
It’s easy to lose track. Many companies set subscriptions to renew automatically. They hide details in the fine print and keep the process going until you actively cancel.
These charges often feel small. Five dollars here, ten there. But if you have five to ten hidden subscriptions, you could be wasting hundreds each year—without realizing it.
Streaming, fitness apps, cloud storage, photo tools, meal plans, online games, and even forgotten magazines all fall into this category.
Step 1: Check Bank and Card Statements
The fastest way to find hidden subscriptions is to go straight to your bank or credit card statements. Pull the last two to three months and look line by line.
Look for:
- Repeating charges on the same day each month
- Unfamiliar company names
- Tiny charges under ten dollars
- Multiple streaming services or software fees
If something looks odd, search the company name online. Sometimes the name that shows on your statement is different from the service you signed up for.
Make a list of every monthly charge—even the ones you recognize. You can’t make good decisions until you see the full picture.
Step 2: Use a Subscription Tracker
If scanning your statements sounds overwhelming, try a subscription tracking app. These tools connect to your bank or card accounts and sort recurring charges automatically.
Some popular options are free, while others take a small fee or percentage of what they cancel for you. Either way, these apps make it easier to see what’s being charged and what to cut.
Just make sure to use a well-known tool with strong security standards. Read reviews before you connect your accounts.
Step 3: Cancel What You Don’t Use
Once you have your list, it’s time to cancel what you no longer need. Start with services you forgot about or haven’t used in months. You might be surprised how many there are.
Canceling can take a little effort. Some companies hide the cancel option deep in your settings. Others require you to email or even call.
Be patient—but firm. Set a timer for 30 minutes and knock out as many as you can. If one feels hard to cancel, take it as a sign the company doesn’t want to let you go for a reason. That’s all the more reason to follow through.
Step 4: Pause Instead of Canceling
If you’re unsure about cutting a subscription, check if you can pause it instead. Some services let you freeze your account for a month or two without losing your settings.
This is especially useful for seasonal subscriptions like fitness apps or streaming services you only use part of the year. Pausing gives you space to reassess later without paying in the meantime.
Read More: Back-to-School Savings: Supplies, Tech & Clothes
Step 5: Clean Up App Store Charges
If you’ve ever downloaded an app and clicked “start free trial,” chances are it’s tied to your phone’s app store. These subscriptions don’t always show up on your credit card in obvious ways.
To check:
- On iPhones, go to Settings > [Your Name] > Subscriptions
- On Android, go to Google Play > Account > Payments and Subscriptions
From there, cancel anything you don’t use or forgot about. These small app charges are some of the easiest to miss.
Step 6: Turn Off Auto-Renew
For any subscriptions you plan to keep, consider turning off auto-renew. This forces you to make an active decision to keep paying.
It doesn’t cancel the current period—you still get what you paid for—but it won’t roll over silently. This helps you rethink before you get charged again.
Step 7: Set a Subscription Check-In
Subscriptions are sneaky because they keep going even when life changes. You get busy. You forget. That’s normal.
The solution? Schedule a check-in once every three or six months. Put it on your calendar. When the reminder pops up, review your list, cancel anything new you forgot, and adjust what no longer fits your life.
This five-minute habit can save you hundreds over time.
Final Thoughts
Finding and canceling hidden subscriptions takes a little effort—but it’s worth it. That money could go toward savings, debt, or something you truly care about.
Start by scanning your statements or using a tracking app. Cancel the waste, pause the maybes, and keep only what brings real value. Then set a reminder to check back in regularly.
The goal isn’t to cut out everything—it’s to spend on purpose. When your money goes where it matters, it works harder for you. And that feels a whole lot better than paying for something you forgot you even had.
Read More: How to Find the Ultimate Travel Deals


